
There were a couple of things that needed a little special attention. The first was the Trailing Edge final drilling the second were 2 holes on each nose rib, the third was the match drilling on the Flap Brackets.
The nose ribs come with 4 placed holes in them. The nose skins have 5 or 6. As you can see from the photo below a little of my confusion when I was blindly placing clecos and a couple holes did not line up at all. When constructing the flap I went back and forth to the manual and ended up just clecoing around those holes figuring I would find out if I had something mis-placed later (while it seemed pretty weird, I was pretty sure I had things in the correct place.
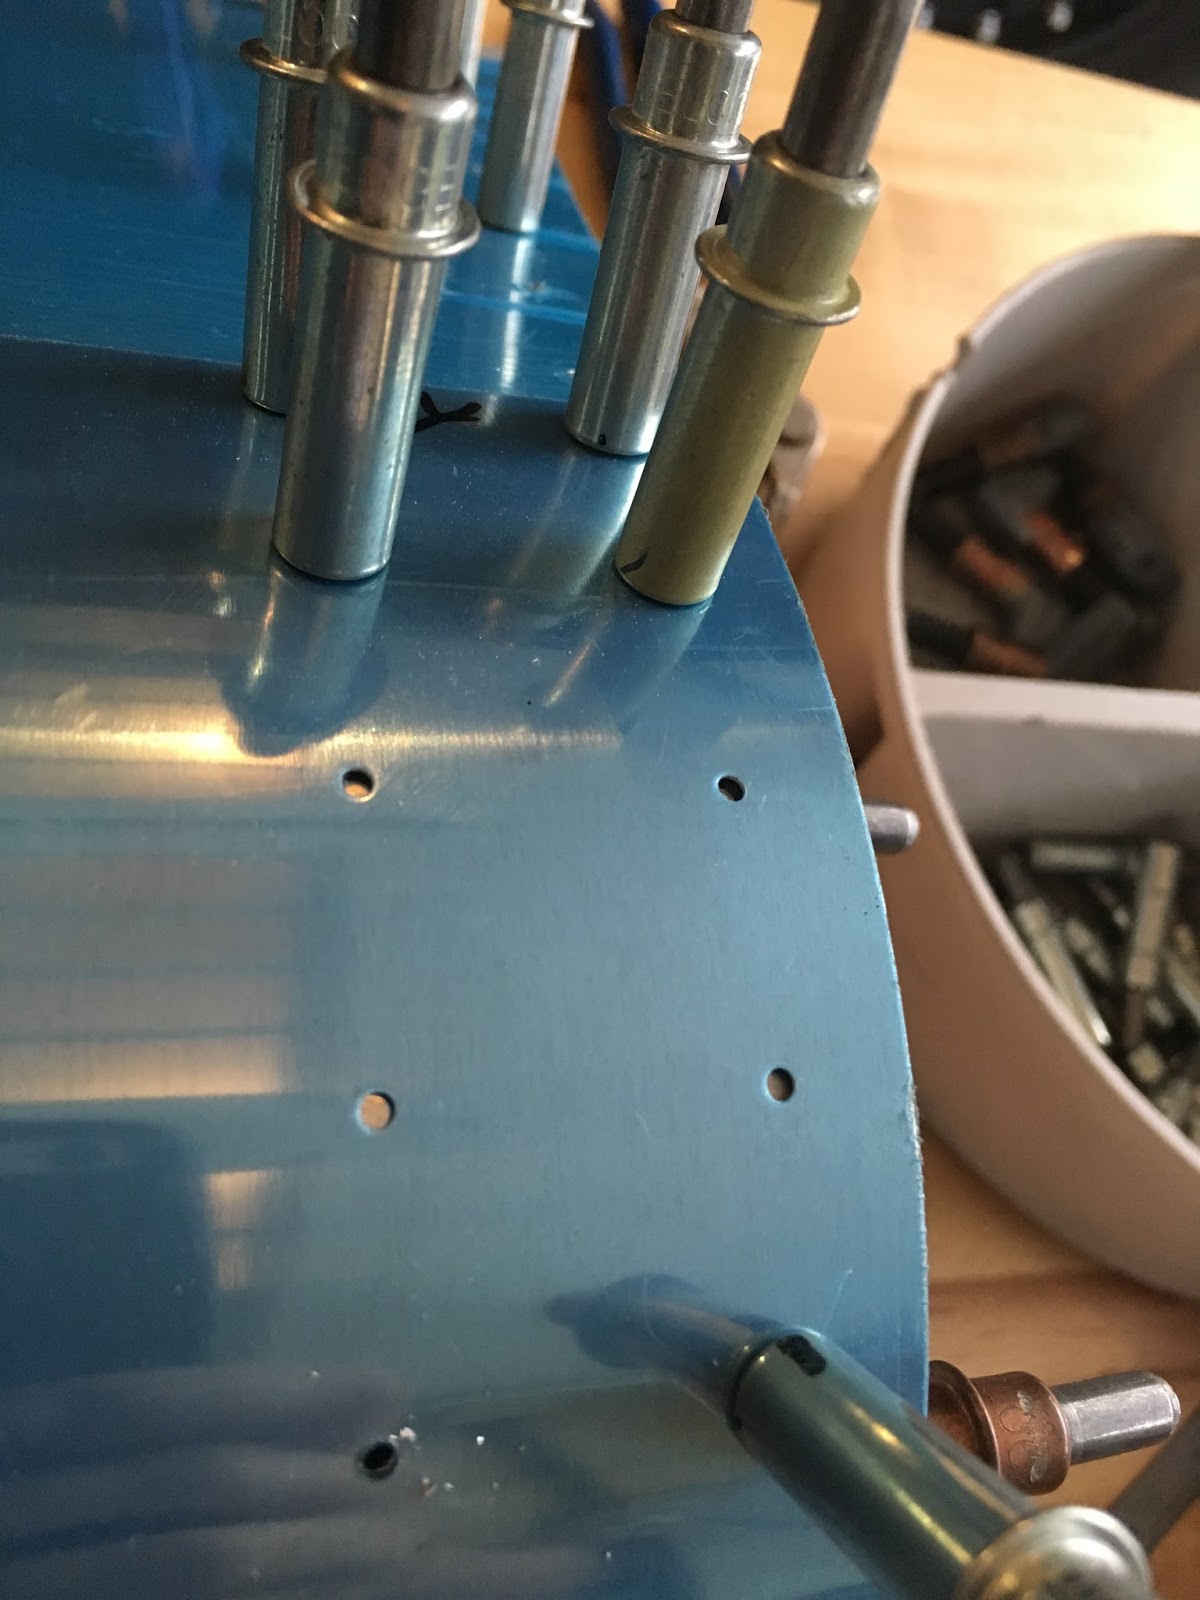
You can see a little better from the end rib the issue at hand.

While it looks like there is a hole there, that is just a reflection of the hole that is on the vertical structure. The one thing I did not like about drilling these out is that the nose rib tabs are pretty flexible. I originally started match drilling one of the holes with my cordless drill and an older bit. You can see that it flexed the tab a little off of the skin because I was pushing a bit too hard on the drill. I went back and switch over to a brand new drill bit and my 4000RPM air drill and that made some really nice holes with no flexing on the tabs.

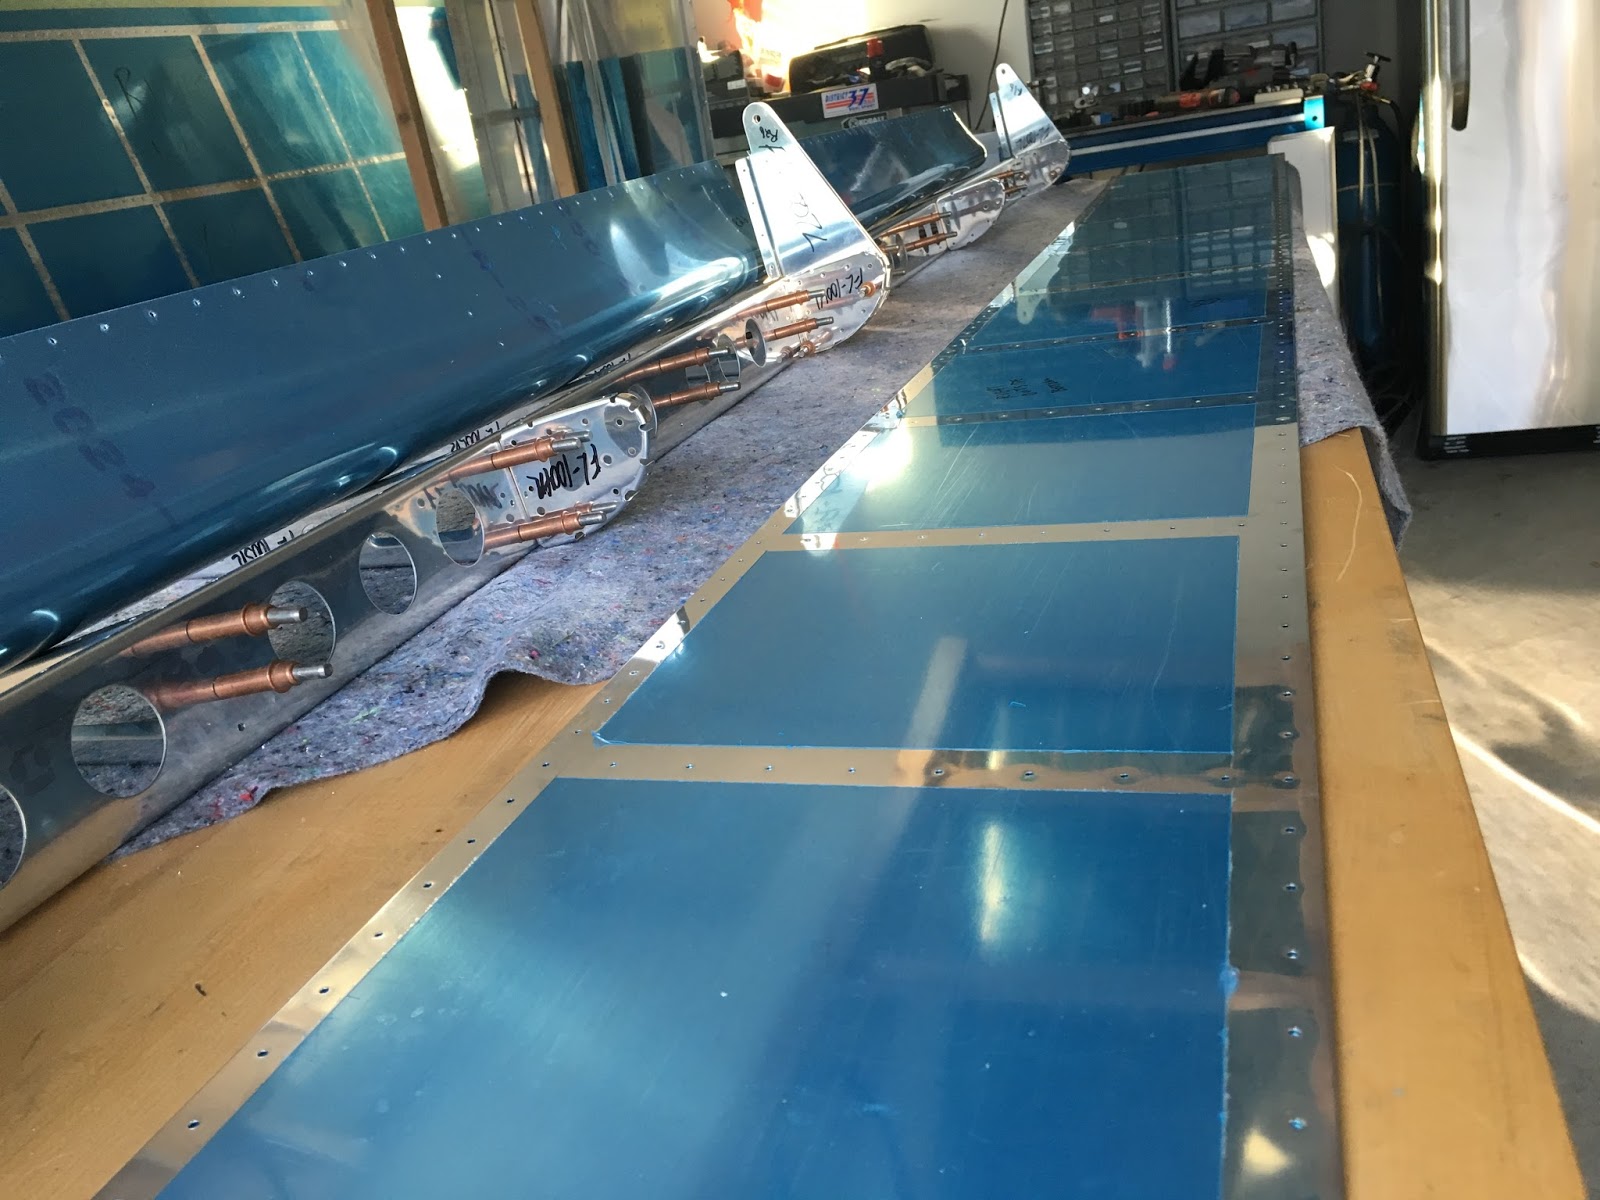
With all of the skin to structure holes complete I drilled the TE wedge to skin holes. This picture looked good in my mind, but is having a hard time depicting the perpendicular drill line to the centerline of the wedge.

With all of the skin holes done I started work on the Flap Brackets. This was pretty straight forward other than the bottom hole of each bracket is pretty close to the skin. Thankfully my Sioux .3HP drill motor fit into this space just fine.

Spacing out the bracket alignment with some AN4 hardware.

That was it, all holes in the right flap are drilled. Now for some disassembly, deburring, dimpling, priming, and re-assembling!
No comments:
Post a Comment